Posted on

How to…build your own raised beds

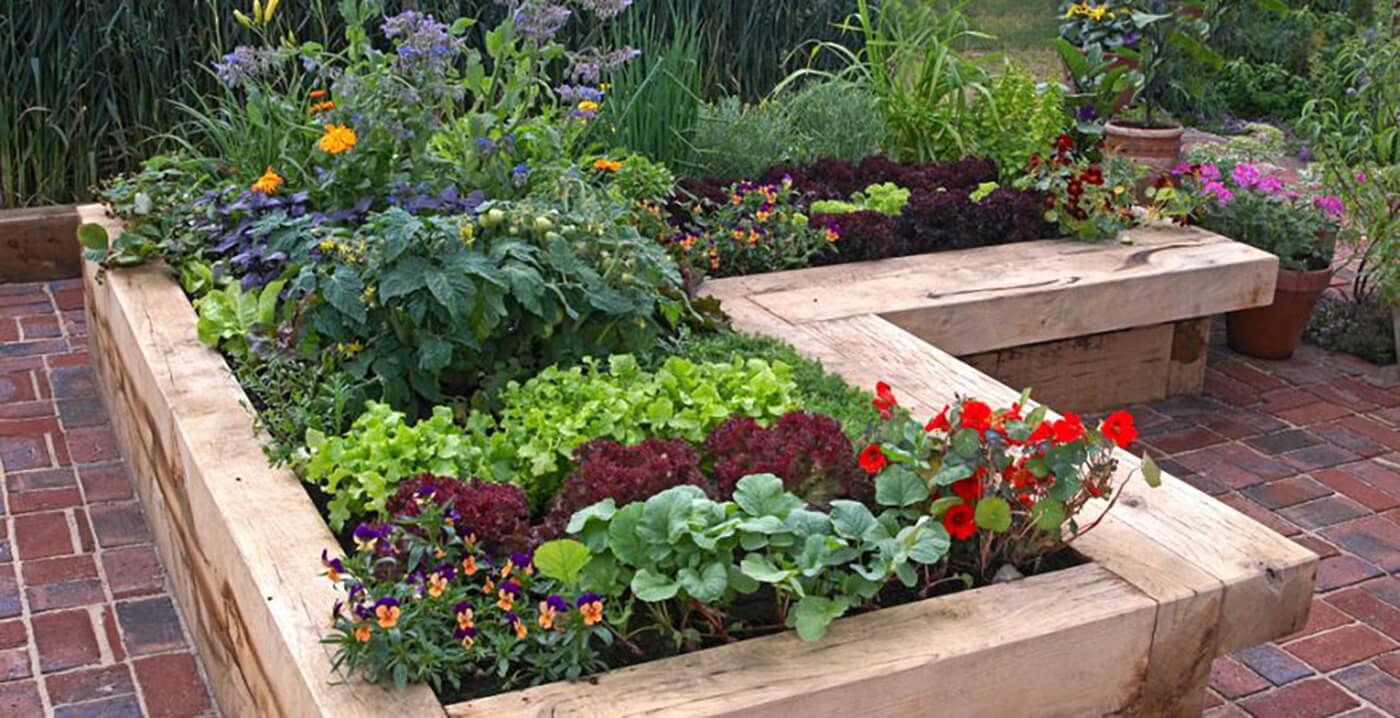
During lockdown, one of our team members has been building new raised garden beds, so we thought this was a good opportunity for a step-by-step ‘How To’ blog!

There are many reasons why a wooden planter can be a great addition to your garden. Perhaps you’re short on space, and want a more flexible alternative to pots? Do you want to encourage your kids to learn to grow their own food in a vegetable patch? Or maybe you’re looking for a solution to improve your soil quality and suppress weeds?

The process is fairly simple – create a boxed wooden structure, line with plastic sheeting, add drainage (as needed) and then fill with a mix of topsoil and compost. Depending on the size of your beds, be prepared for some hard labour, but the end result is worth it!

1. Preparation

You will need:

Wooden planks

Upright blocks for reinforcing (small fence posts or timber offcuts work well)

Bolts

Heavy duty metal tacks

Plastic sheeting (we used a mid-thickness tarpaulin sheet, cut to size)

Drainage and weed suppressant measures (see below)

A mixture of topsoil and compost
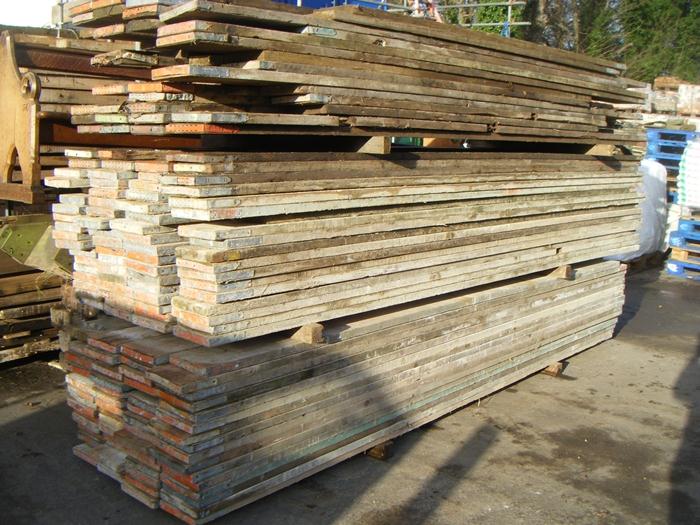
Scaffold boards

2. Choose your wooden frame

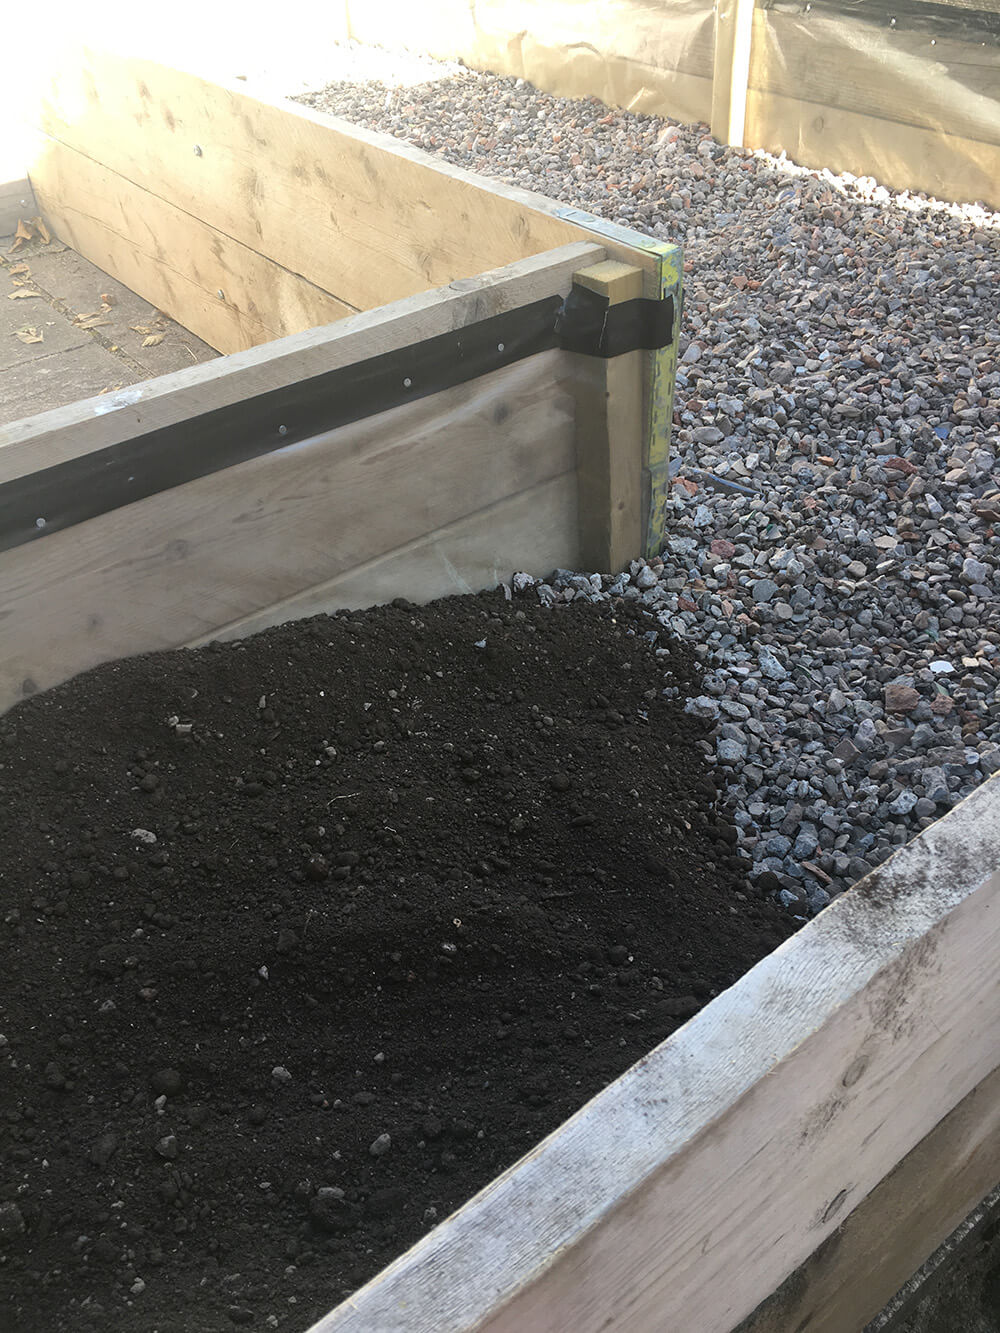
Railway sleepers or scaffold boards are ideal as they are heavy duty and can bear the weight of compacted soil. At Dorton, we have a wide range of sleepers, and new and reclaimed scaffolding boards. We also often stock oak beams and reclaimed hardwood. Consider how high you’d like the beds – most plants need at least 12 inches depth to thrive – and you’ll need the beds to be deeper if you are adding drainage. Two standard scaffold boards stacked on top of each other measures about 18 inches. Bear in mind that reclaimed boards or sleepers may have been treated in the past, which can allow toxins to seep into the soil – you’ll need to line the wooden frame with plastic sheeting to avoid this.
raised bed 2

3. Drainage

Depending on where you’re building your raised bed, you need to consider drainage options. If the bed will sit on grass then you probably don’t need drainage – however, we built directly onto a paved yard so we incorporated a layer of rubble at the bottom of the beds to aid drainage. At Dorton, we stock stone products which could work for this purpose, or talk to us about other rubble options we may have available.

4. Weed suppression

If you’re building on top of your existing garden, remember that weeds will find their way into your new beds. Control this by adding a layer of landscaping material (available at DIY stores) to suppress the weeds.
raised bed1

5.Construction

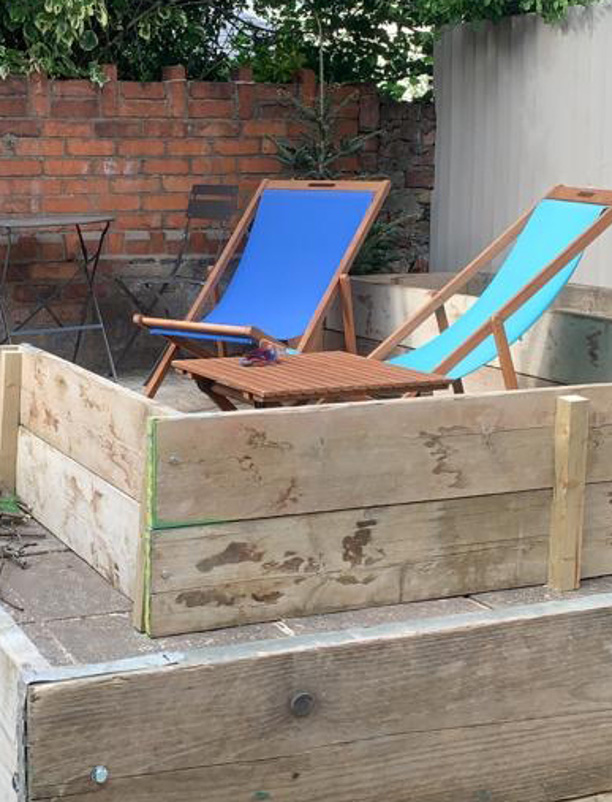
Construction is fairly straightforward – cut your boards and your upright reinforcing posts to size, and bolt together. Create the strongest junction possible by bolting directly through the wooden board to the upright.

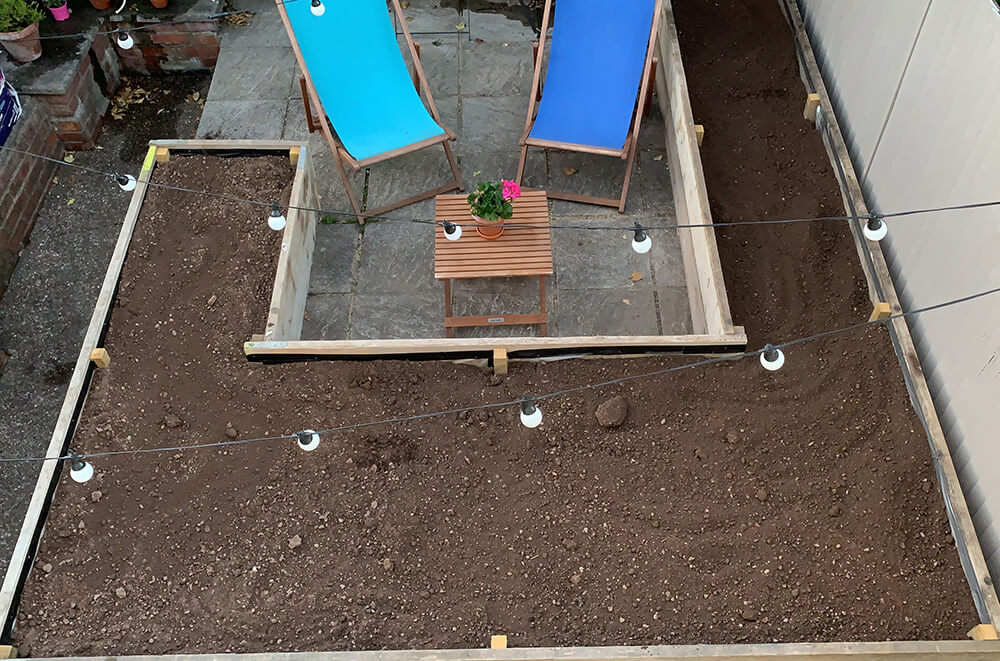
Next, line the interior of the frame using plastic sheeting or tarpaulin that’s cut to size. Secure this with tacks at regular intervals (we also reinforced with gorilla tape).
rasied bed 3

6. Filling your beds

This step is by far the most labour intensive, but it is a simple process – fill the beds with a mix of top soil and compost. We used a mix of roughly 70% topsoil to 30% compost.

Consider that once the soil becomes wet, it will compact significantly, so over-order slightly as you’ll need to add more over the next few weeks.
raised bed 4

7. Planting!

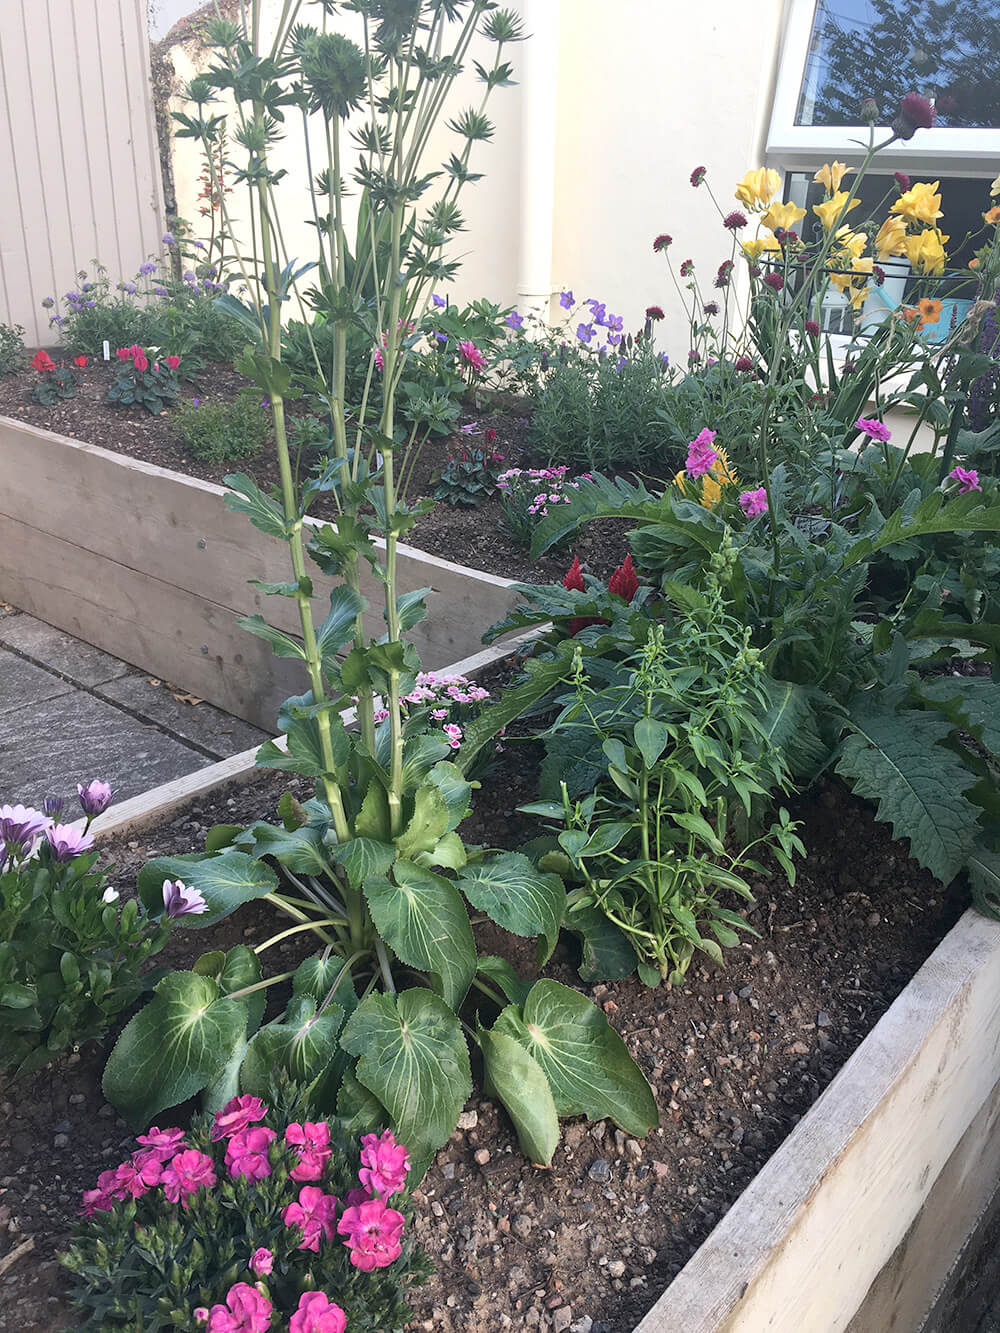
This is the fun part. Create a vegetable patch, plant up a beautiful cottage garden or produce your own spectacular herb garden – let your imagination g(r)o(w) wild!

Whatever you choose, whether it’s quick and simple, or plotting how you’ll take over the horticultural world with prize-winning specimens, we’re here to help you with the essentials, so give us a call.

Stay safe.


Images

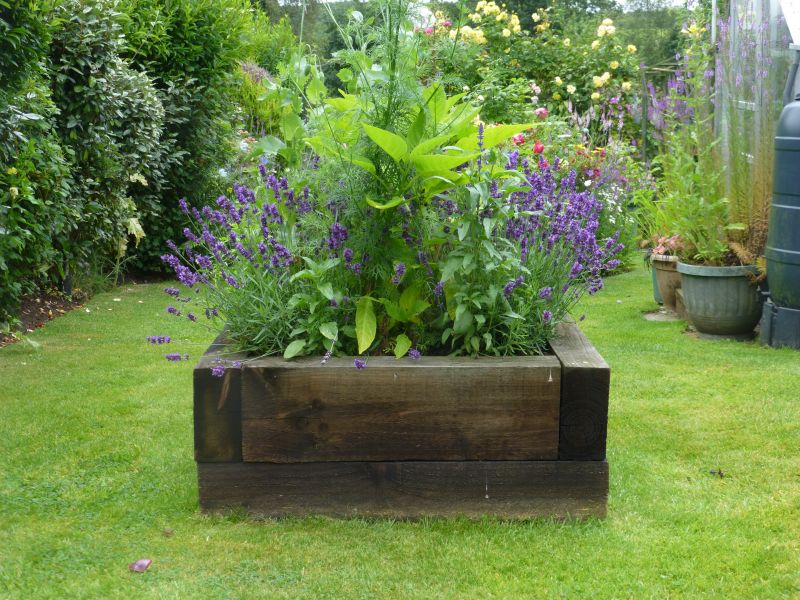
Square raised bed, purple flowers

Cottage garden raised bed

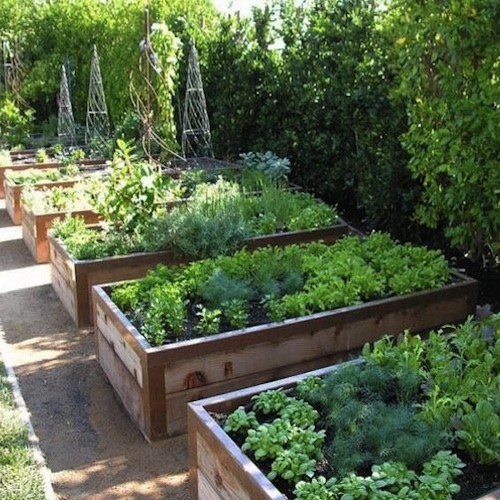
Herb and salad beds

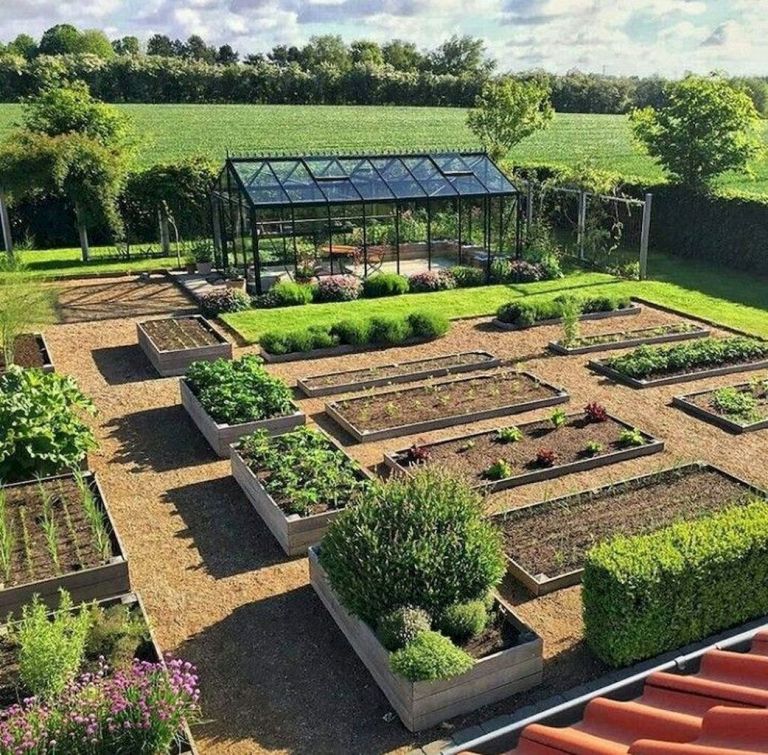
Vegetable garden and planters

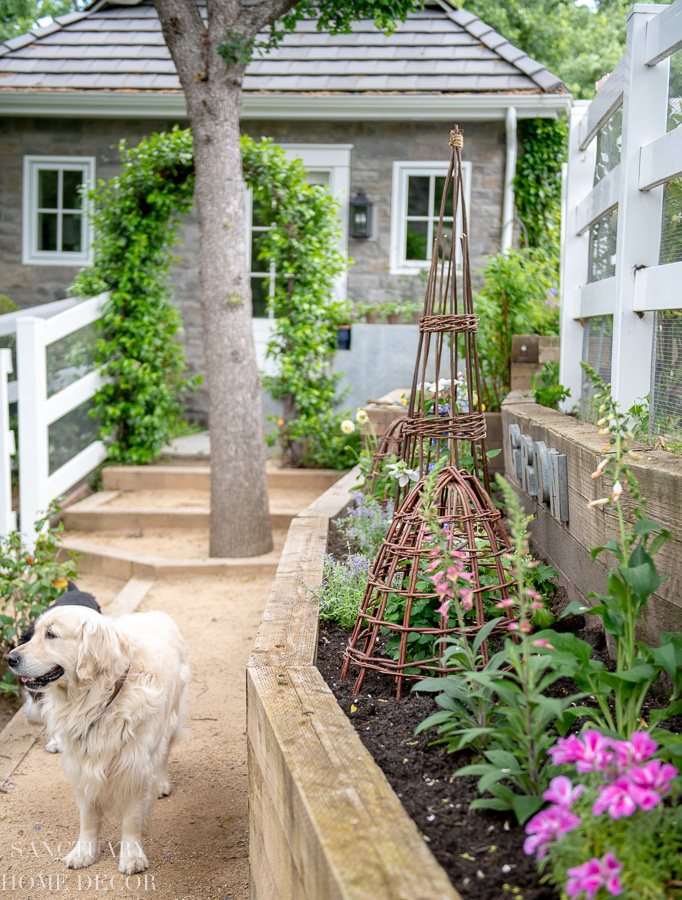
Vegetable and flower planter

Posted on

Bathtubs and beyond

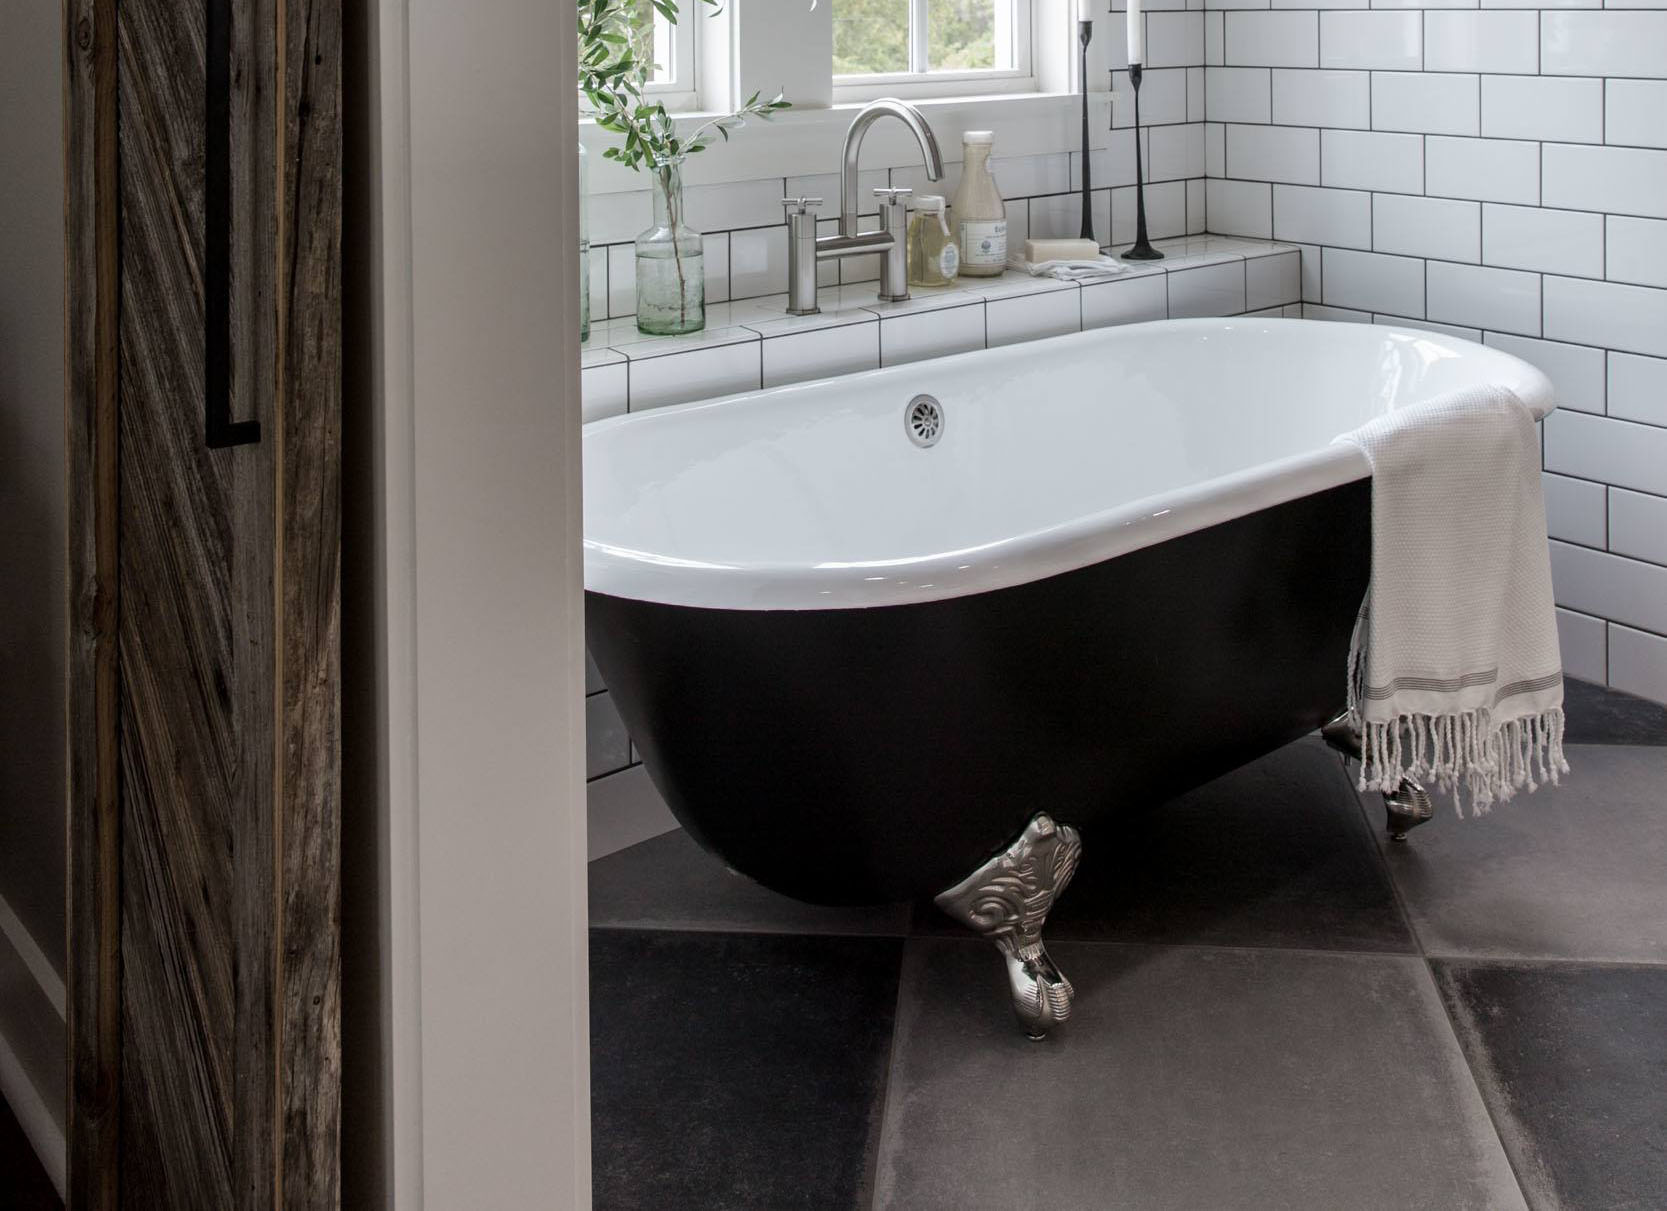
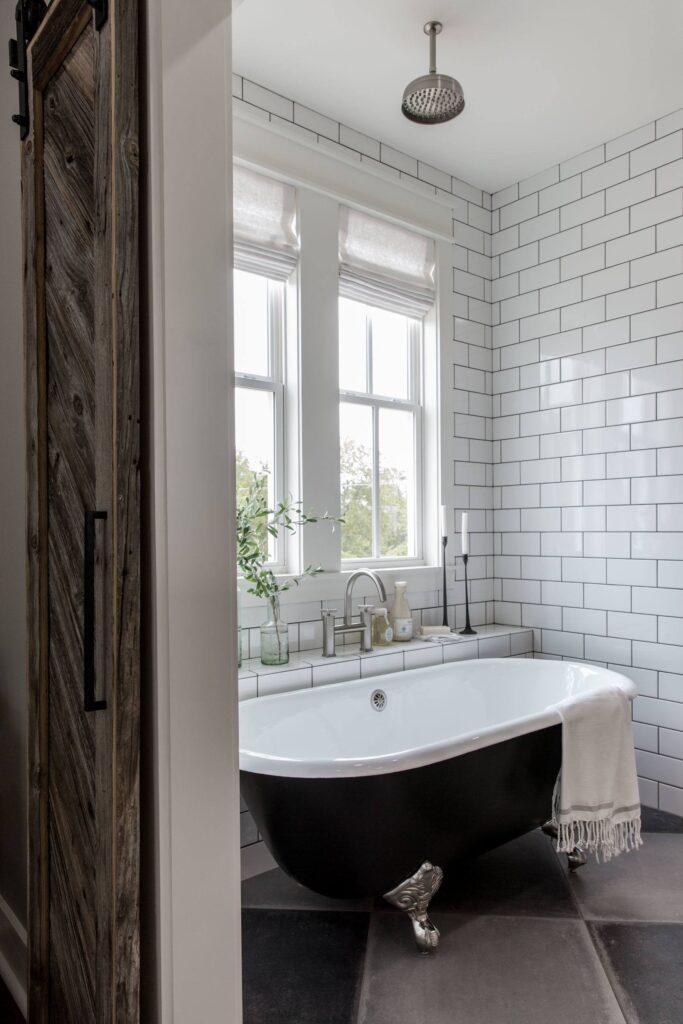
Roll top Bath

In this month’s blog, we’re focusing on bathtubs – one of the simplest pleasures in life is a bath filled to the brim with bubbles, accompanied by candles, a good book and maybe even a glass of fizz. But as renovation enthusiasts, we know that there’s even more to the humble bathtub than that, right?!

We’ve rounded up some fabulous ideas to transform a bath into something really special for your home or garden. We’ve got quirky, we’ve got unusual, and we’ve got gorgeously traditional.

Beautifully Restored Roll Top

Bathtub
There’s only one place to start of course, and that’s with a beautifully restored roll top freestanding bath. We have a great range of original baths that are just waiting for some love and attention to bring them back to life.

Baths for Planters

Bath planters
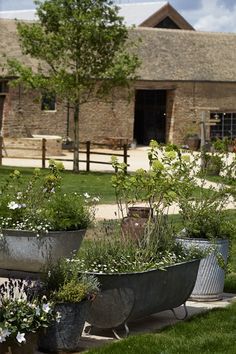
Summer is upon us and in these strangest of times, people across the nation are making the most of being at home to upgrade their gardens. We love this collection of planters made from reclaimed bathtubs and troughs. A butler sink would also work really well as an unusual and eye-catching planter.

Roll Top Chaise Longue

chaise longue
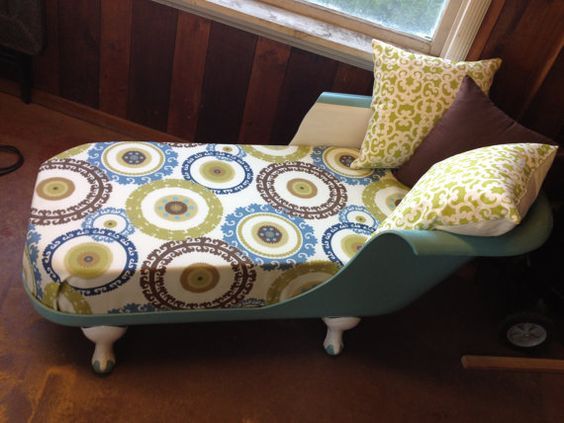
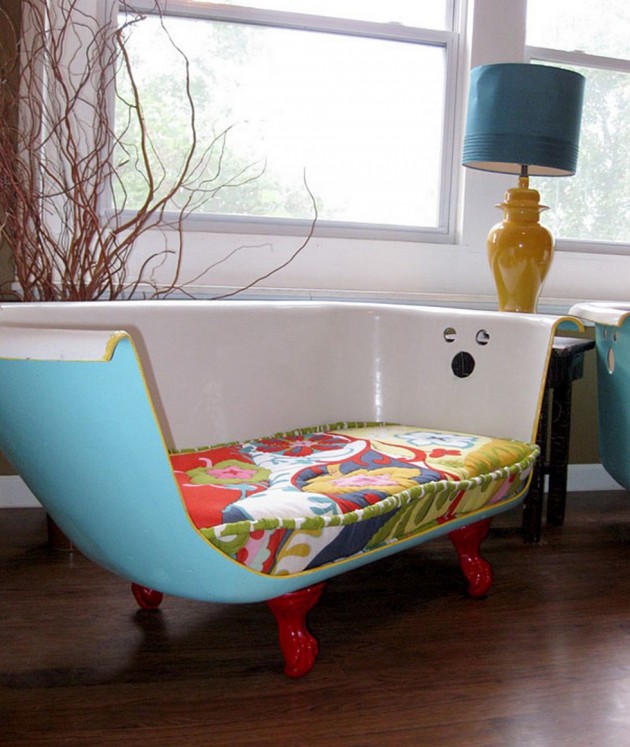
Create a stunning focal point in your living room or bedroom with a chaise longue created by carving up a reclaimed bath. Paint in bold colours, then add cushions and throws for an ‘art deco meets modern chic’ look.

This method is also great to create a bucket sofa (or even two chairs if you split the tub in half).

Sofa

Poor Man’s Hot Tub

outdoors hot tub
Now that’s what I call glamping. For the really adventurous, why not move your ‘tub outdoors? There’s something rather romantic about this ‘poor man’s hot tub’ idea, although sadly we can’t provide the panoramic views!

Transform Your Bath Into A Nirvana for Wildlife

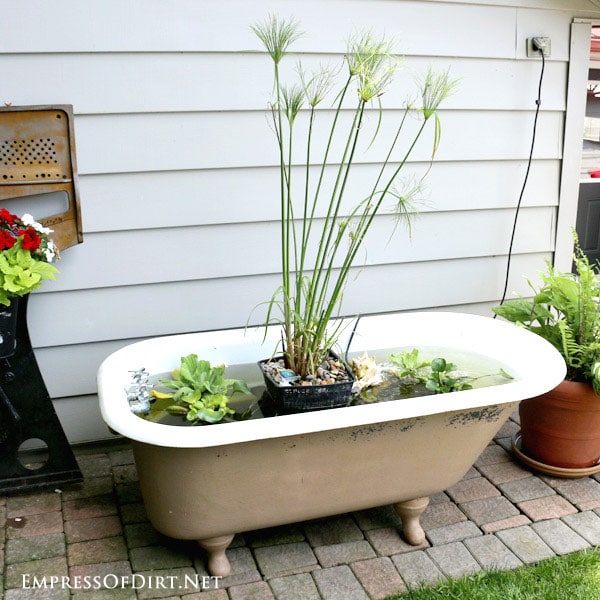
Bath pond
With some time and effort, you can create a fish pond in your garden. This step by step guide walks you through how to transform an old tub into a nirvana for wildlife!

Whatever your project, we’re here to help.

Dorton Reclaim is open, with strict new social distancing measures in place to protect our customers and our staff. We have introduced new delivery/click and collect services to encourage customers to stay at home where possible, and we’re able to help source items if you call and describe what you’re looking for. Read our COVID-19 company statement for details.

Image references

Roll top bath: Magnolia

Bath planters: Conde Nast Traveller

Chaise longue: DIY Enthusiast

Sofa: Architecture Art Designs

Outdoor tub: Domino

Bath pond: Empress of Dirt

Posted on

Home improvements in lockdown

Fire pit

We suddenly find ourselves in a different world, with worries and restrictions we couldn’t have imagined even six months ago.

There’s no doubt that the world is changing and we have a long way to go before things return to what might be a ‘new normal’. Perhaps though, we can take some comfort from the familiar, by spending time caring for and updating our homes. This unexpected extra free time could also be an opportunity to tackle a project you’ve never found time to start. Whatever motivates you, we are here to help.

Dorton Reclaim is open, with strict new social distancing measures in place to protect our customers and our staff, in the hope that we can help you navigate these stressful times with some normality. We have introduced new delivery/click and collect services to encourage customers to stay at home where possible, and we’re able to help source items if you call and describe what you’re looking for. Read our COVID-19 company statement for details.

We’re all in this together, and if there’s a silver lining to be found, we’d like to help our customers find it. With that in mind, in our first blog of the lockdown we run through our top 5 most popular renovation projects for summer.

1. Fire Pit

Fire pit

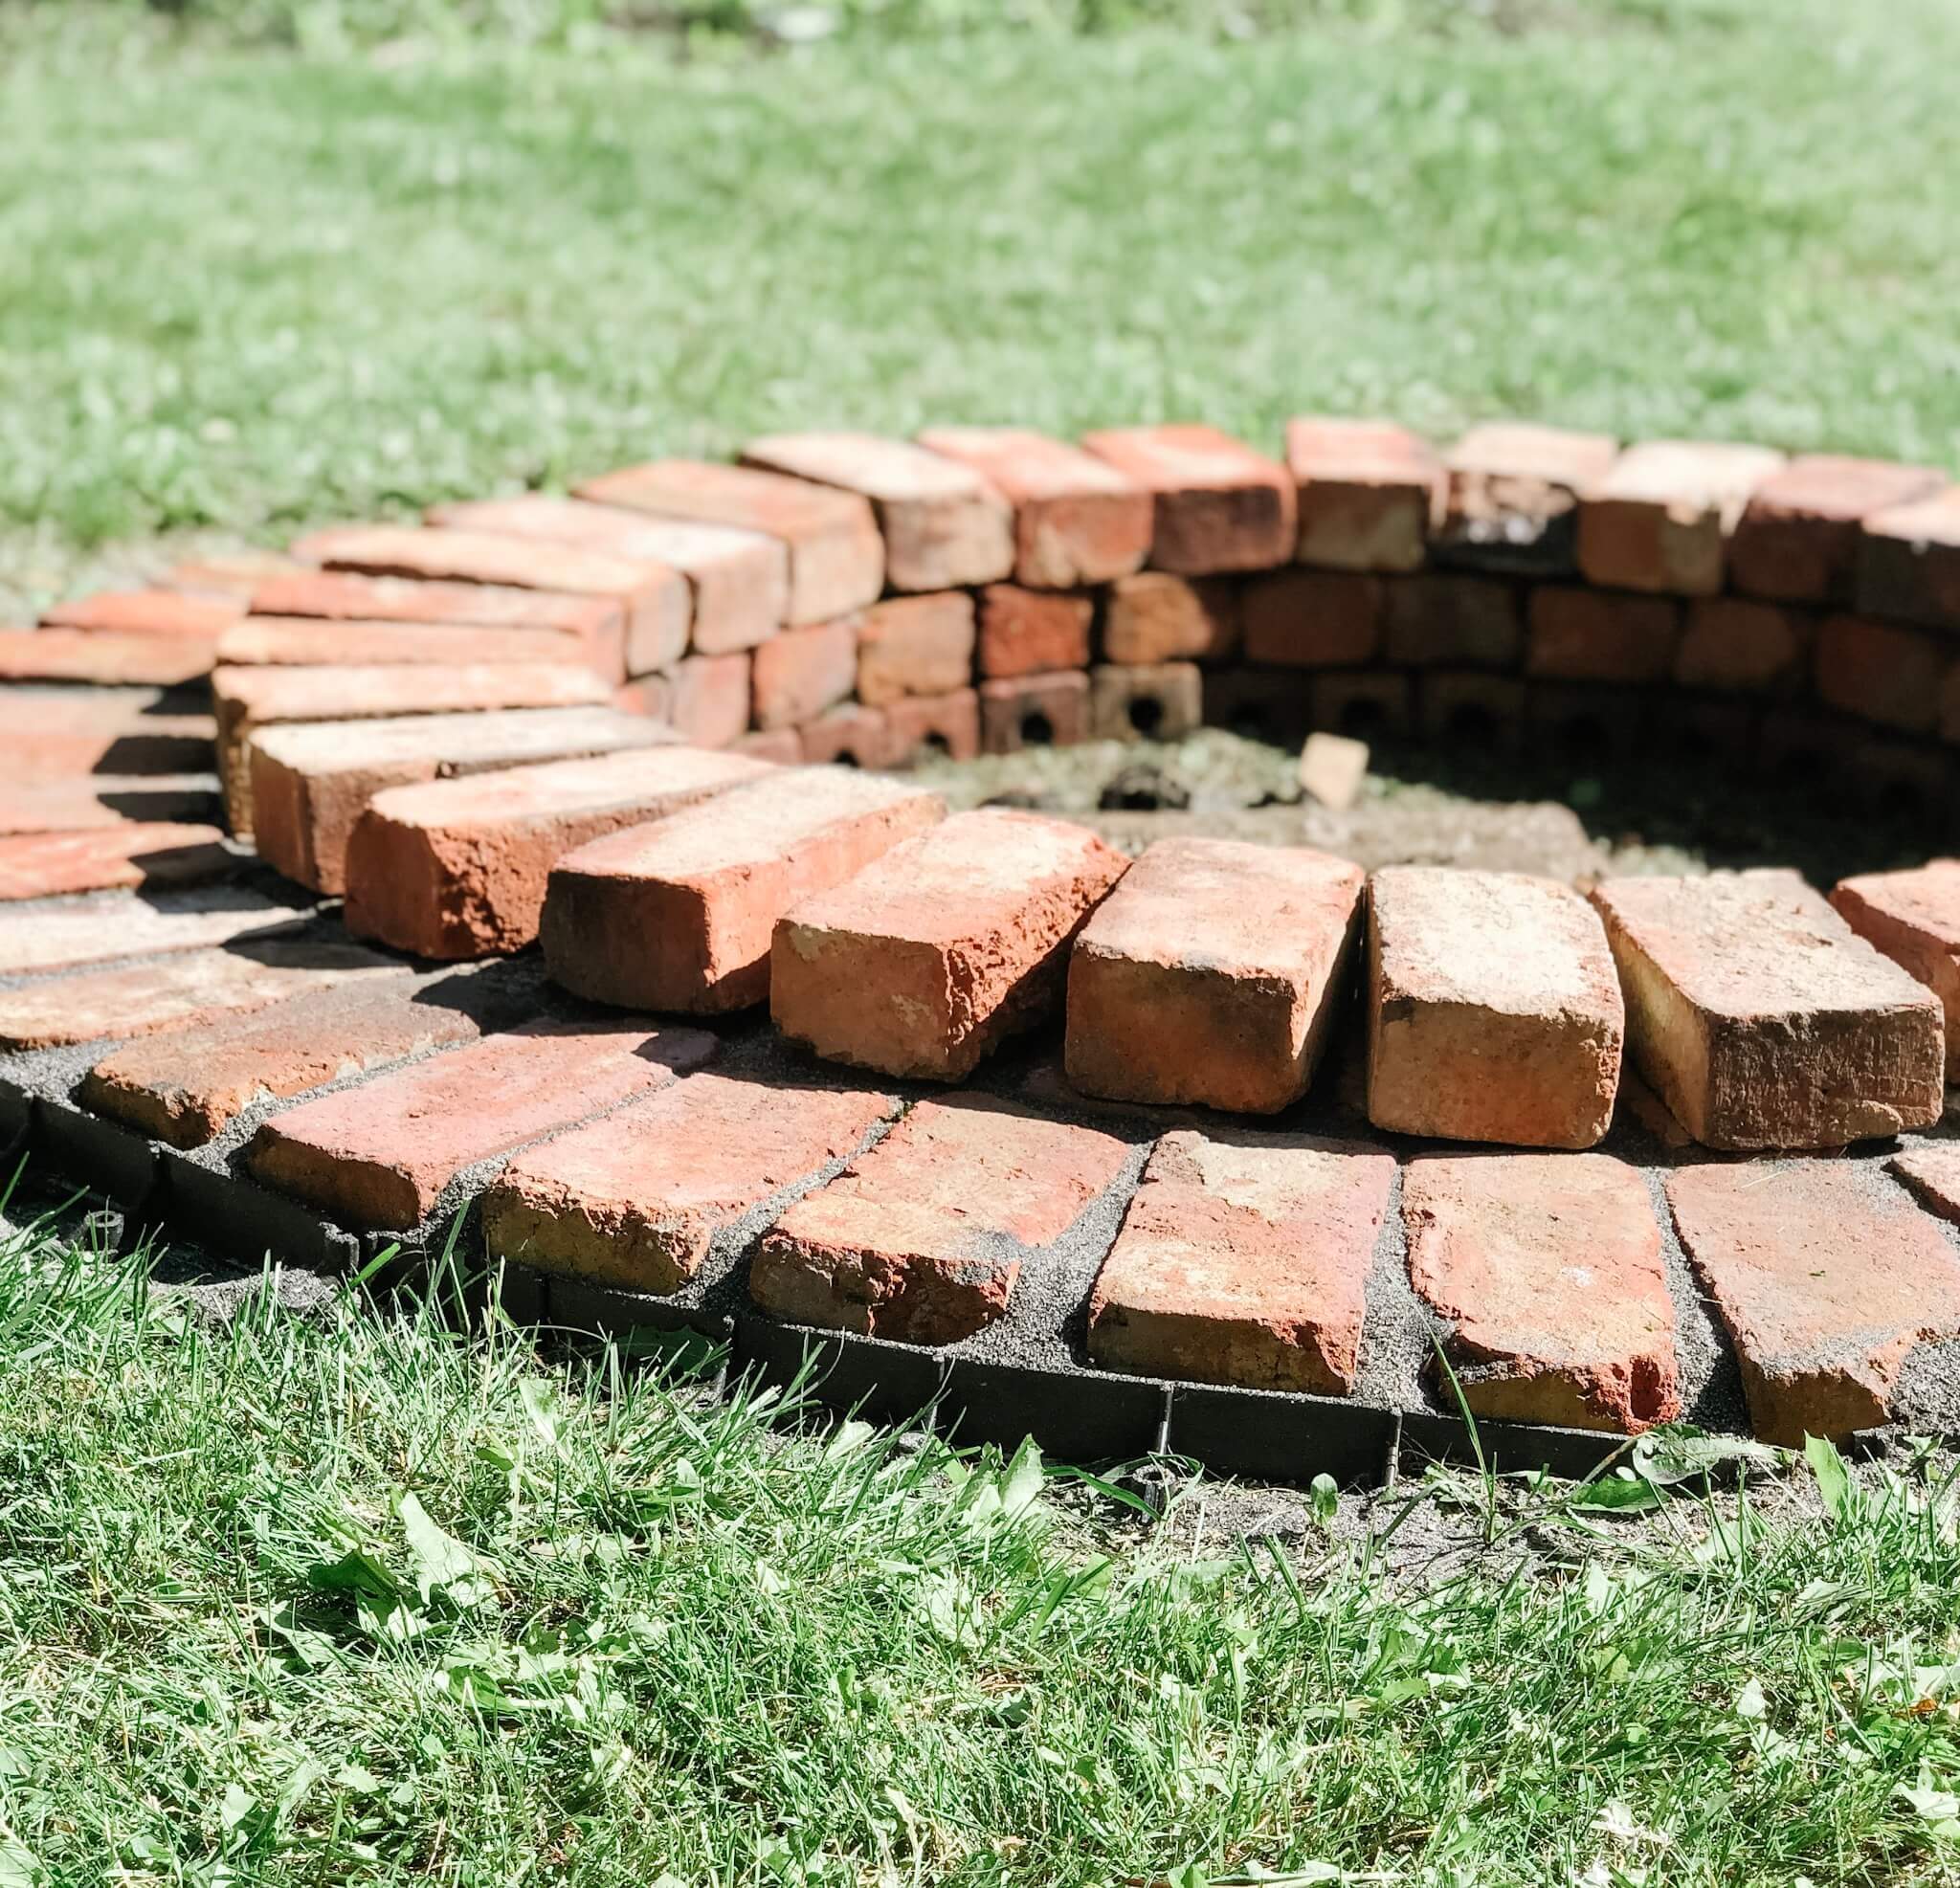
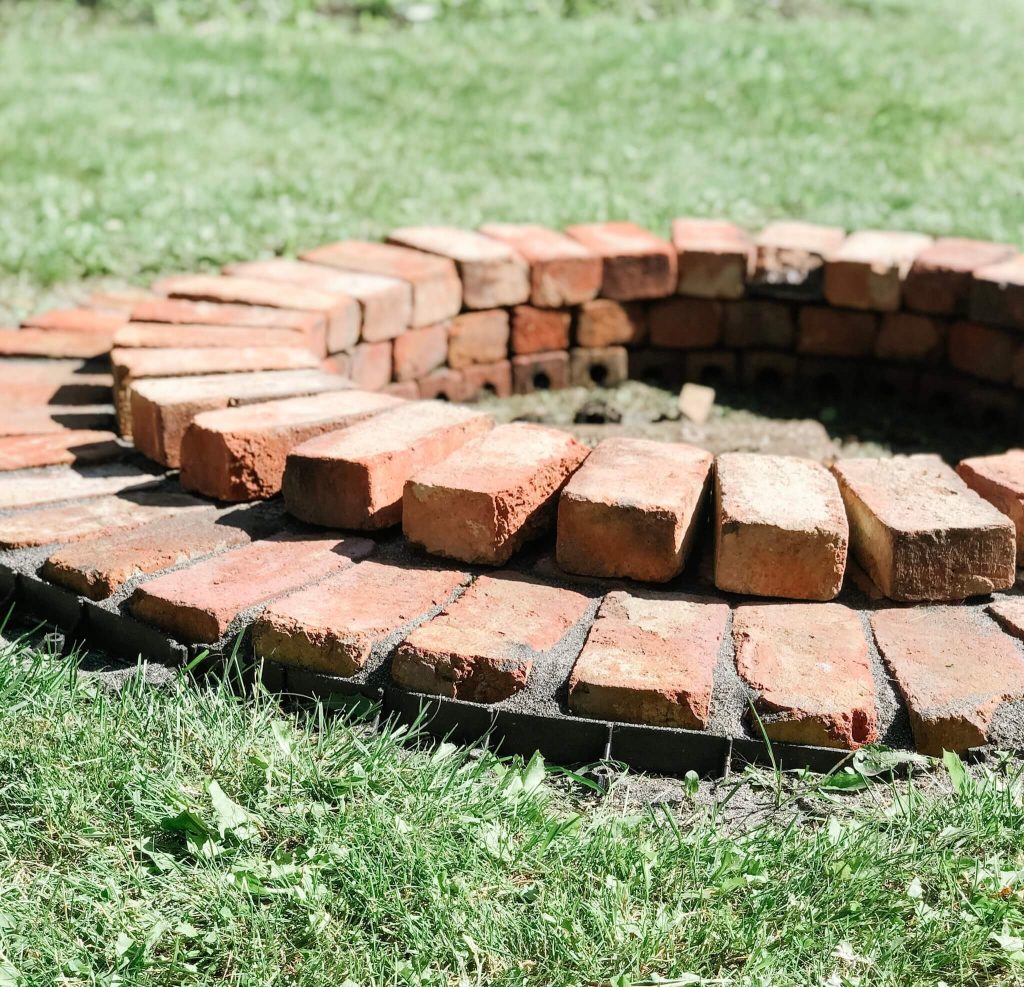
We’ve been lucky enough to have a run of great weather, and there’s nothing lovelier than gathering together to spend the evening in front of a fire. Build your own fire pit with reclaimed bricks – read our previous blog for tips on how or try this great step by step blog from Vintage Society.

2. Rebuild a wall

Wall

3.Wooden shelves

Shelves

We have a great selection of scaffold boards, which can be transformed into bespoke, elegant shelving for your home. Take advantage of the great weather to sand down your boards outside, then cut to size, and treat with varnish and oil.

4.Raised flowerbeds

Raised flower beds

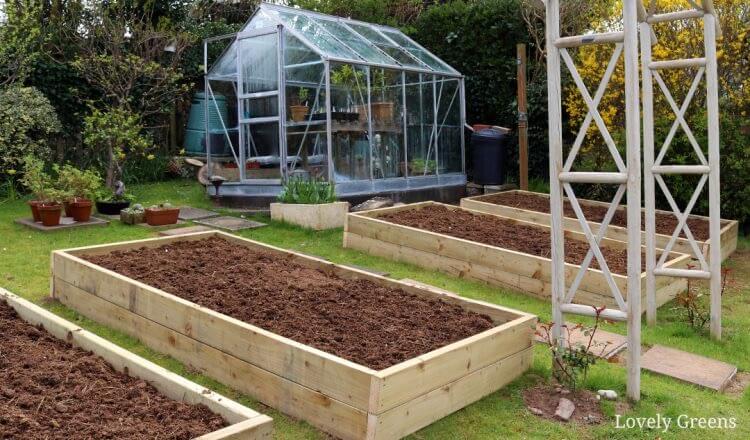
Create your own raised flowerbeds with railway sleepers. It couldn’t be easier – lay out the sleepers to create your desired shape (according to space and design), fix them together with nails, add a plastic membrane (optional) and fill with soil. If railway sleepers aren’t your thing, you could create beds with other types of wood (ask us what’s currently in stock) or even bricks.

5.Laying a patio

Patio

Transform a corner of your garden with a brand new patio. Whether it’s to create a safe space for your kids to play, or a tranquil retreat for an evening beer, now is the perfect opportunity to tackle this project. We stock flagstones, pavers and bricks – contact us to order a delivery or find out more about our click and collect service.

Whatever you choose as your first lockdown project, give us a call – we’re here to help.

Stay safe.


Image references

Fire pit Vintage Society

Brick wall The Art Garden (Jocelyn’s Garden)

Shelves The Indigo House

Raised flowerbeds Lovely Greens

Patio Backyard Ensley Journal

Posted on

Restoring radiators – a how-to guide

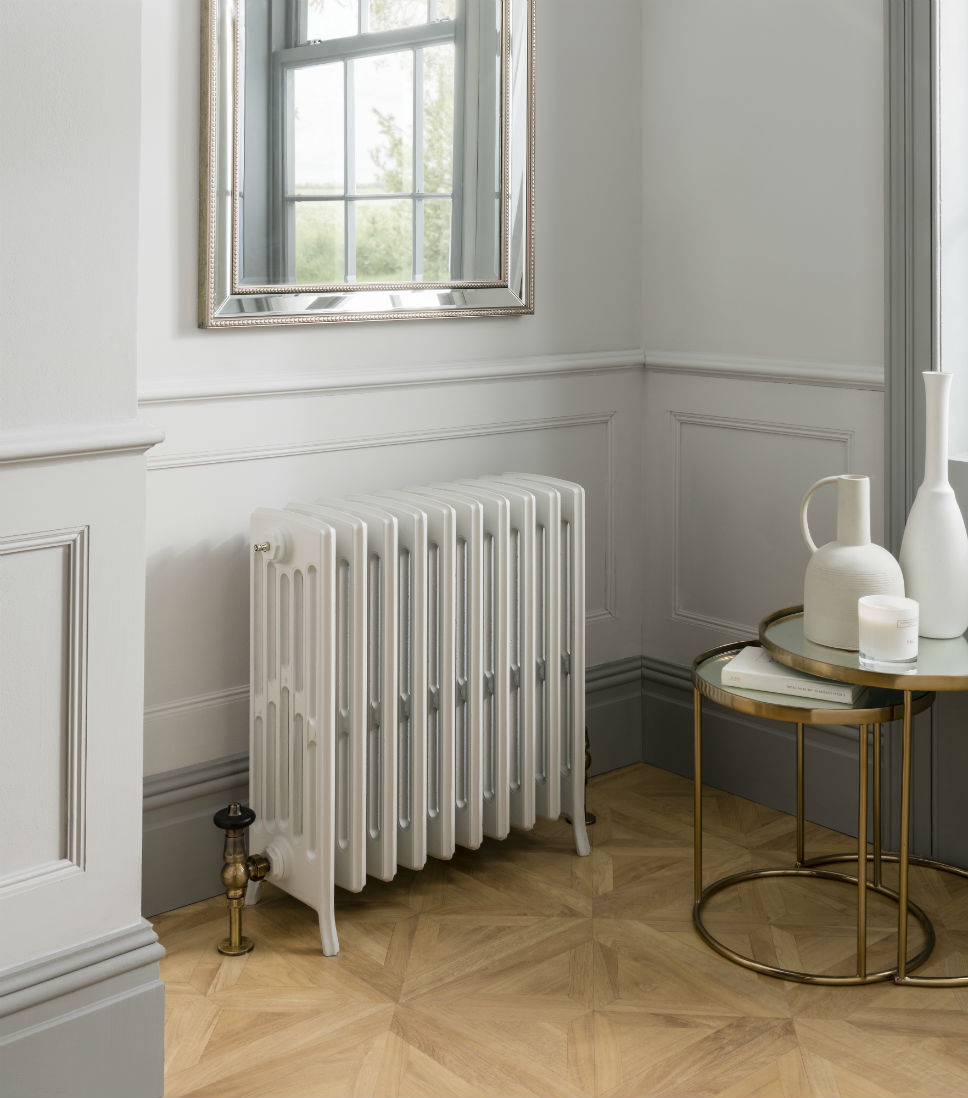
If we had to pick one sure-fire giveaway that you’re a restoration enthusiast, our money would be on how you feel about radiators. These beauties utterly transform a space and add bags of character when they’re reintroduced to a period home. They’re also a huge labour of love and we’d be willing to place another bet that anyone who’s embarked on a radiator project has spoken some choice words before falling back in love with them when they’re in pride of place.

If you’re ready to take the plunge, renovating period radiators is a fabulous way of showcasing your individuality and love of original features. This month’s blog is a handy how-to of the steps to restore radiators, what to do yourself, and when you might want to bring in the experts.

1. Considerations

Before you start, make sure you speak to a plumber to check what size you need to sufficiently heat your room. They will be able to advise on the number of BTUs (British Thermal Units) you need based on the square footage to be heated.

You should also budget for safety checks and installation (and removal) costs. As a guide, to replace all radiators in a typical 2-bedroom terrace house would take around 2 days, including removing old units and repositioning pipes as required. Also check that your plumber will dispose of your old radiators.

2. Choosing your radiator

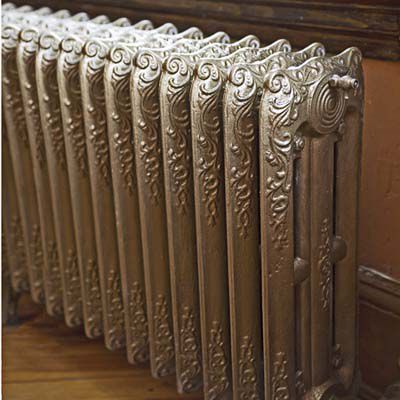
At Dorton, we stock a huge variety and styles, from ornately sculpted to industrial radiators. We also sell repro radiators if you like the steam-punk look but don’t fancy taking on a labour-intensive project.

3. Stripping your radiators

One of the joys of original radiators is their age and providence; the downside is that beautiful features are often covered in years’ worth of paint. Stripping them is labour-intensive and you need to consider the best way to approach it. First, make sure that you’re working in an unoccupied space (or ideally, outdoors), because this is a messy task!

You can strip a radiator by hand but this is time-consuming. You may want to do it in stages – use a wire brush to scrape off as much as possible, then sand blast the unit, and finally remove the last of the stubborn paint with a nitrate paint remover. If you’re using a sand blaster, you may want to think about sending it away to an expert.
4. Varnishing, polishing, painting

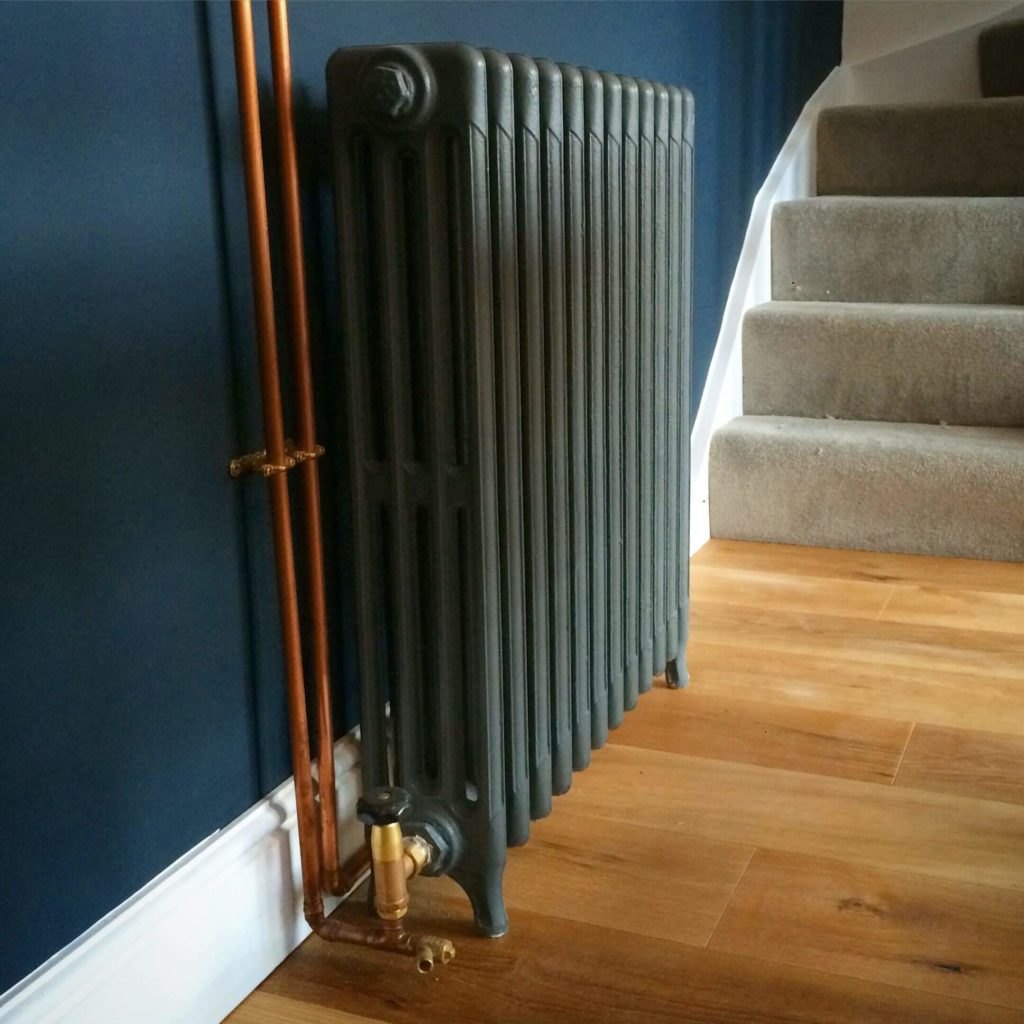
You’ll need to prime and then varnish or paint your radiator to bring it back to its former glory. We love this chic style, achieved with Farrow and Ball paint contrasting with copper piping.

green radiator

5. Finishing touches
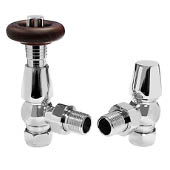
Your plumber should supply the pipes to install your new radiator and connect to existing pipework. Complete the look with period style taps and valves – we love these:

taps


Once you’re done, all that’s left is to crank up the heat and enjoy the results of all your hard work.

It’s always worth a visit to our yard to see what’s new, and make sure you sign up to our pre-claim service, where you’ll be the first to hear about new and unusual finds.

Image references

Lead image Enki Magazine

Olive green painted radiator Pinterest

Ornate radiator This old house

Valves Victorian Plumbing


Posted on

Tiles tiles tiles

A sure-fire way to invigorate your home is to add some tiling detail. It’s a perfect project for spring as well, something to add colour and shake up the look and feel of a room, without having to venture too far outdoors!

Having said that, we also have plenty of external tiles, so we’ve got inspo for external projects too. This month, we’re bringing together ideas to inspire you to make a change – and we’ve even got solutions for left-over tiles!

Floored genius

We stock a range of reclaimed tiles, which with a little love and care can be brought back to their former glory. As you can imagine, tiles can come into the yard from a variety of projects, so make sure you visit us regularly to find the perfect style for you.

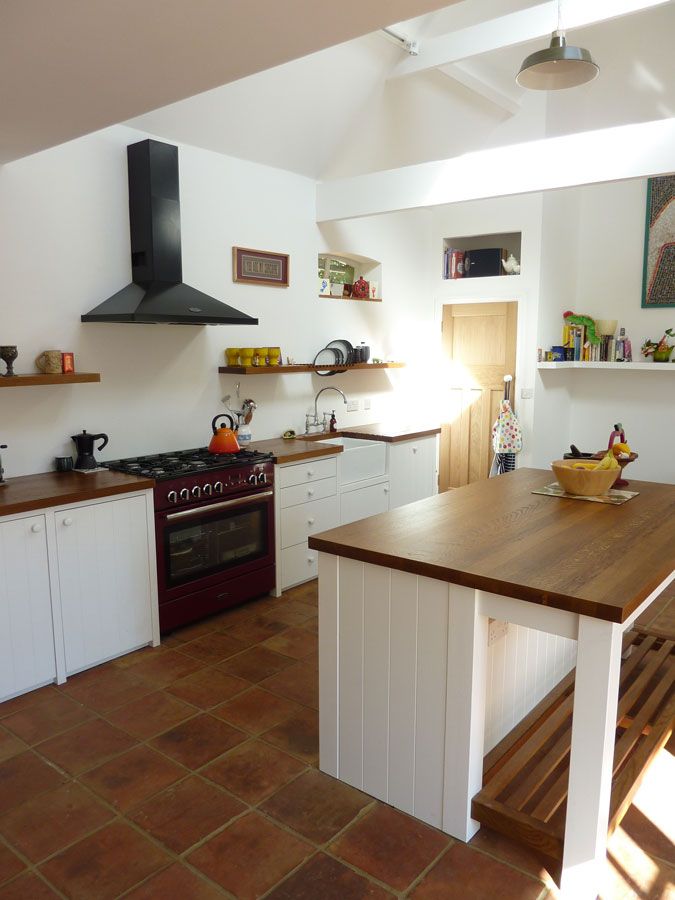
Quarry stone floor tiles can transform a room – we love this farmhouse style kitchen floor, creating a cosy, homely feel.

farmhouse

Small but sweet

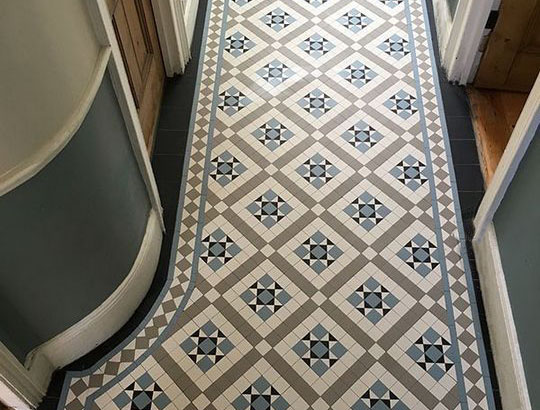
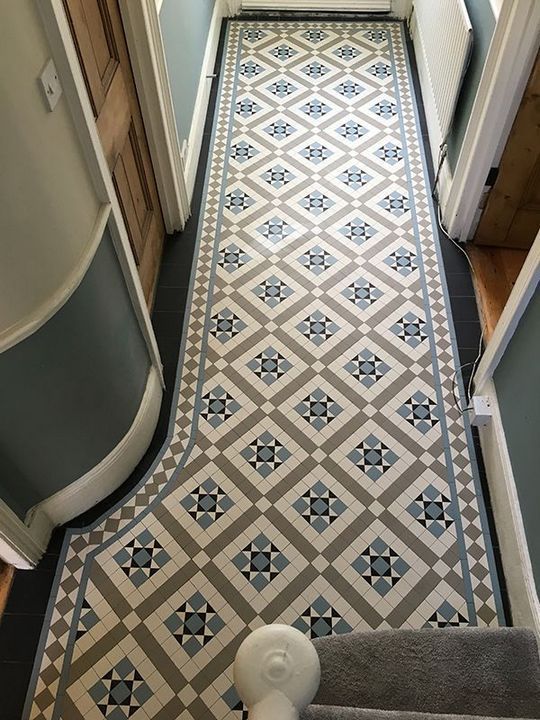
Victorian-inspired patterned tiled floors create an elegant, regal space. Even the smallest of hallways can be revamped fairly simply with careful use of colours and designs.

Hallway

If space or budget is an issue, consider adding an accent rather than retiling your whole room. For example, rather than tackling a full kitchen, you could choose to tile one feature wall to add interest. Or focus on heavy-use areas such as behind the hob, to combine practicality with creating the wow factor.

Step it up

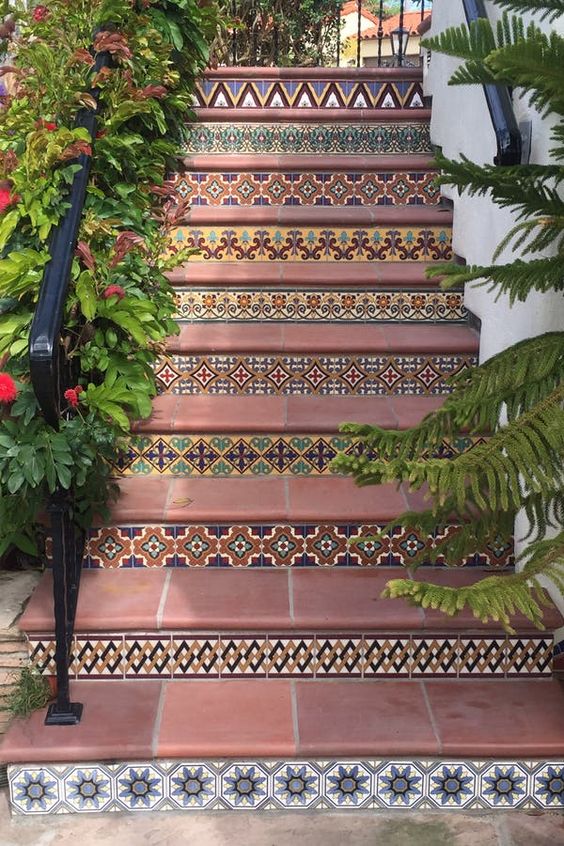
Up your tiling game with feature details – tile external steps in traditional terracotta, then add features on the stair rises with your favourite patterned tiles to create a twist on subway style. We stock a huge number of quarry tiles that would be perfect for this job – and visit your local hardware store to source a complementary ceramic tile for the rises.

Steps

Whatever your project, you’re likely to have some leftover tiles knocking around. We’ve gathered some ideas to use up and repurpose spare tiles:

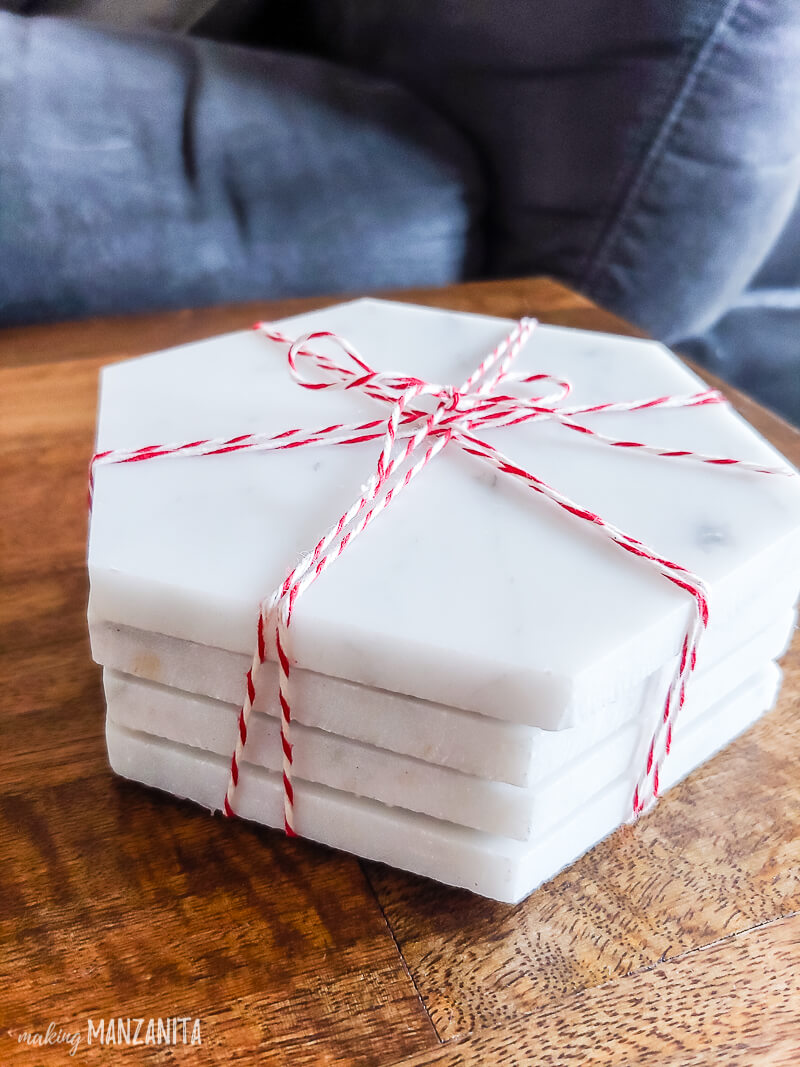
Coasting to victory

One of the very simplest options to repurpose smaller tiles is to create your own set of coasters. We love the idea of coordinating coasters with feature wall tiles.

Dining in style

Or how about restoring a dining room table? Add a section of ceramic tiles for a truly unique centrepiece.

Potty for planters

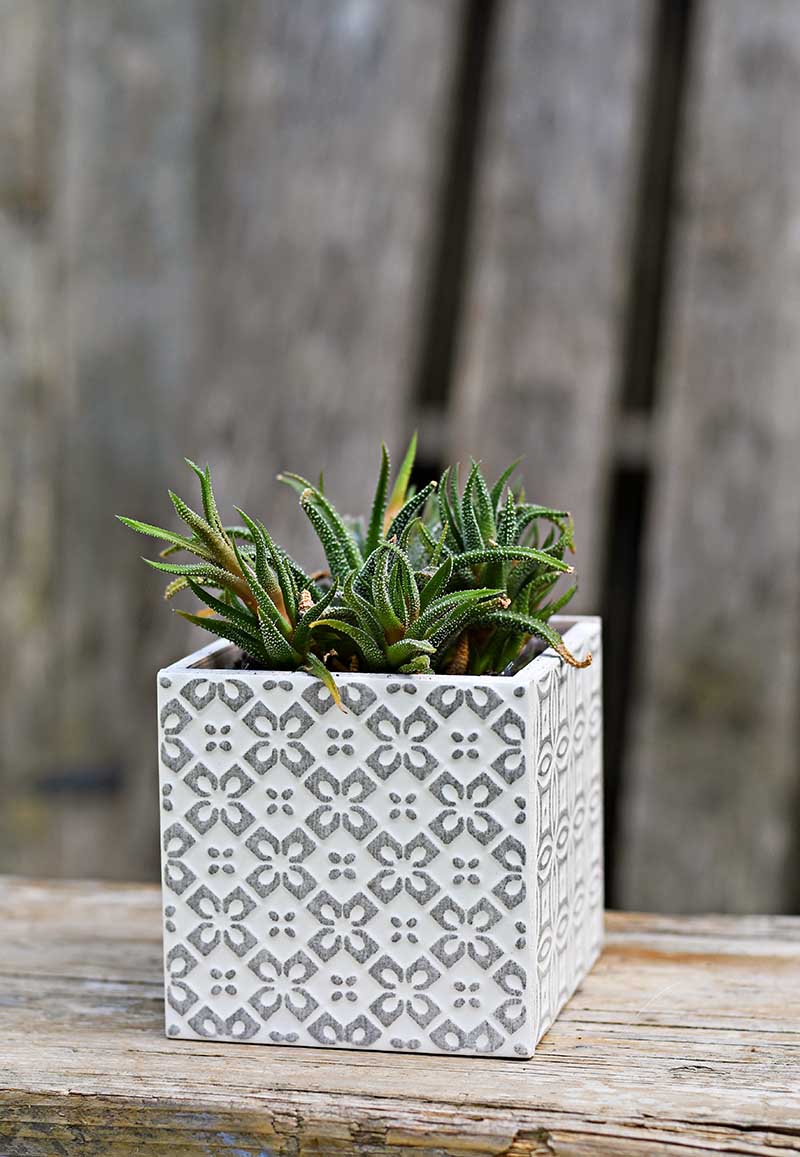
One of our very favourite ideas for using up leftover tiles is to create your own planters and plant pots. From the tiny (superglue 4 tiles into a square shape) to the more elaborate (think raised outdoor beds decorated with a tile pattern), the possibilities are endless!

Planter

Whatever your project, we’re here to help. Pop in to see us and we’ll help you choose the best option for you.

Image references

Farmhouse Pinterest

Hallway Pinterest

Steps Pure Wow

Coasters Making Manzanita

Table Seeking Lavender Lane

Planter Pillar box Blue


Posted on

All I want for Christmas

It’s the most wonderful time of the year…and the perfect opportunity to choose a gift that’s a little out of the ordinary.

As climate change and the very real threat to our planet escalates, many of us are considering the impact of waste and single-use plastics as we do our Christmas shopping. We’ve rounded up some ideas for festive gift giving with a difference to help you do your bit to reduce waste and shop sustainably.

Give the gift of Hygge!

Hygge Bath

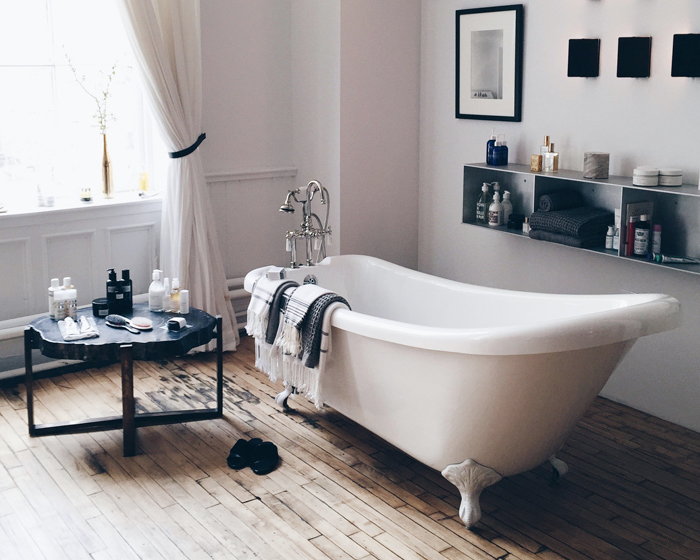
Over the last couple of years, the UK has embraced the Danish concept of Hygge, defined as ‘a quality of cosiness and comfortable conviviality that engenders a feeling of contentment or well-being’. Think thick socks, candles, blankets and hot chocolate in front of a roaring fire.

Our salvage yard at Dorton is packed with original pieces guaranteed to dial up the Hygge – from Victorian radiators, to wood-burning stoves and decadent roll-top baths, the list is endless.

If your friend has a wish list, let us know and we can help you find exactly the right gift. Now all you need to do is figure out how to fit it under the tree!

Festive story-time

Shelves

Create a little piece of festive magic for the little ones in your life. Transform reclaimed wooden boards into a cosy nook for bedtime reading and storage. We love these bookshelves, made using scaffolding boards and iron brackets. Take it a step further and add decals or stencils with your child’s name.

Vintage gems

Esso Sign

It’s always worth a visit to Dorton to peruse our one-off items as you never know when we’ll find some unusual treasures (sign up to our Pre-Claim service to be the first to hear about new arrivals).

Surprise your vintage-loving friend with a retro tin sign or plaque to hang in their home or garden. This recent find is from Volks Electric Railway at Brighton sea front:

Volks Railway

Shop our packed yard for antiques like these stunning original brass and copper fire extinguishers:

Vintage Extinguishers

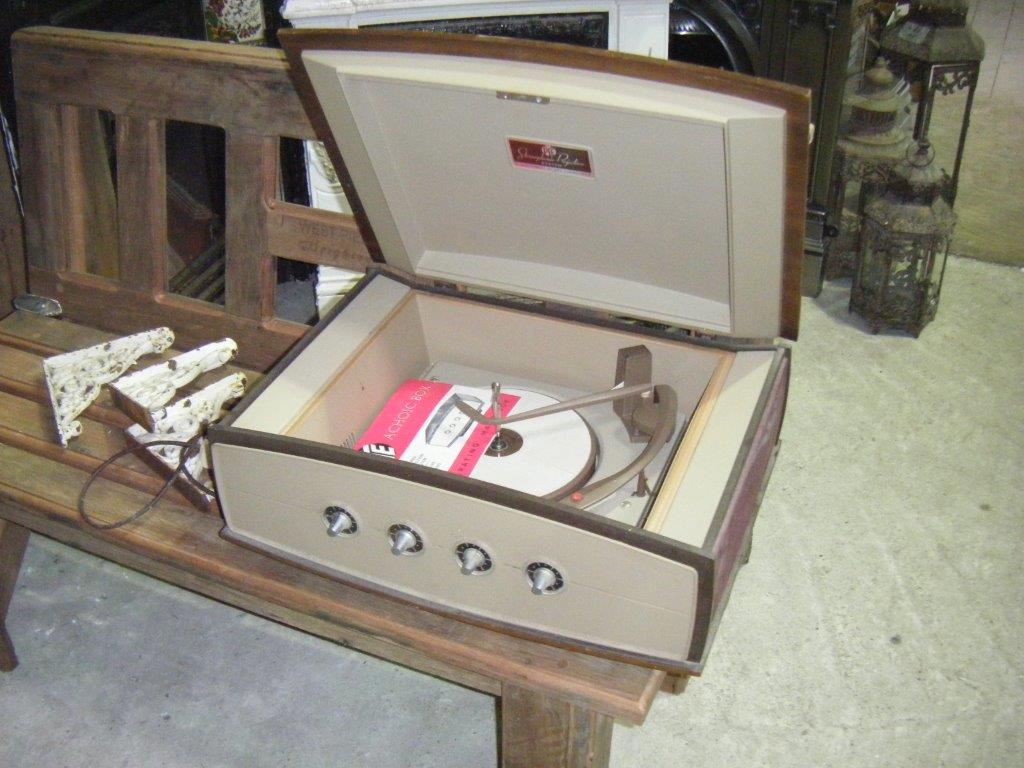
We adore this PYE record player:

Record Player

A magical winter wonderland

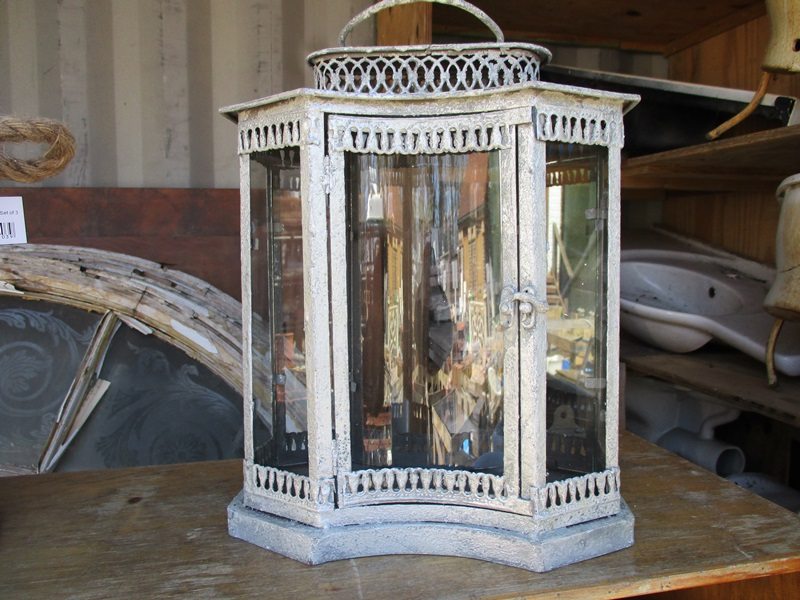
Lantern

Add a touch of sparkle to your friend’s Christmas decorations with a traditional lantern. Line the driveway, decorate the porch, or bring indoors to pop in the window. Imagine this gorgeous lantern adding to the festive charm of a cold winter’s evening – a truly unusual gift to give this season!

Lantern


We’re open as usual up to the 20th December at 4pm and reopening at 7.30am on Thursday 2nd January 2020, so pay us a visit to choose a unique and sustainable gift!

Image references

Bathroom The MOA style

Book shelves Shabby Bear Cottage

Retro sign English Salvage

Lantern DIY Enthusiasts